

How to Get An Apple Student Discount (Easy Way)
Apple is a big company with lots of resources. Because of this, they are willing to lower the cost of some of their subscription packages to people who deserve it. These people include university students trying to finish their degree. With this, some of you may ask, how to get an Apple student discount?
Paying for student fees is no joke. Not only do the parents pay for their student’s tuition fee, they also pay for their snacks & lunch in school. They also pay for their other necessities such as their uniforms and give them allowances. You should see a parent’s burden by now. Every bit of money saved is important.
So how to get Apple Music student discount? Is it a tedious process? Actually, it is fairly easy to get; simply follow the steps on the next parts to find out. Along with this, you’ll find a tool that can help you regarding safeguarding your Apple Music library. Sometimes, you may never know what might happen to it.
Article Content Part 1. The History of Apple MusicPart 2. How to Get Your Apple Student Discount?Part 3. A Practical Way to Backup and Safeguard Your Songs Part 3. Summary
Part 1. The History of Apple Music
Before the concept of Apple Music, Apple only had iTunes. iTunes was a big hit among Apple’s fan base and was paired well together with the iPod. After that, Apple acquired Beats Music and Beats Radio. This eventually led Apple to have an idea of digital music streaming.
Apple Music officially began on June 2015. It was meant to be a dedicated music streaming platform. You would be able to listen to pop, rock, classical, foreign, and so many kinds of songs on demand. The service offered 3 months free trial initially which eventually was cut down to a month. After this free trial, you automatically get charged a monthly subscription fee if you do not cancel it.
Apple Music was available both on the PC and mobile. The mobile version was first available only on Apple devices. Eventually, they became available on the Android OS. The mobile Apple Music app had the Listen Now, Radio, Library, Browse, and Search tab.
How to get an Apple student discount or other plans? How many kinds of plans does Apple Music Offer? The Apple Music service comes in several subscription packages. There are the Individual, Family, and Student plan. Each plan is priced differently with Individual at $10.99, Family at $16.99. Eligible students get about 40% off a monthly Apple Music subscription plan for a period of up to 48 months, or until they are no longer a student.
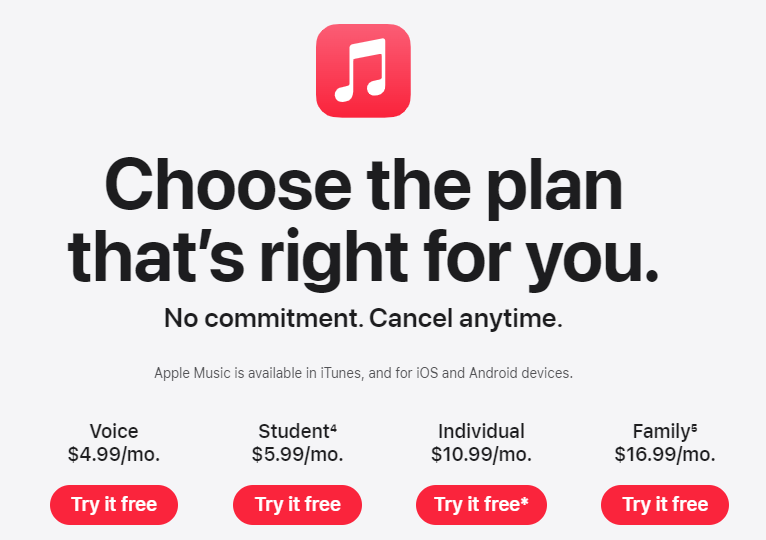
If you're in full-time education then you won't want to pass up this amazing Apple Music student discount. Students can get Apple Music for only $5.99 a month. For a limited time, the Apple Music student subscription also comes with free access to Apple TV+, their paid movie and streaming service. The next part will delve more on to get an Apple student discount.
Part 2. How to Get Your Apple Student Discount?
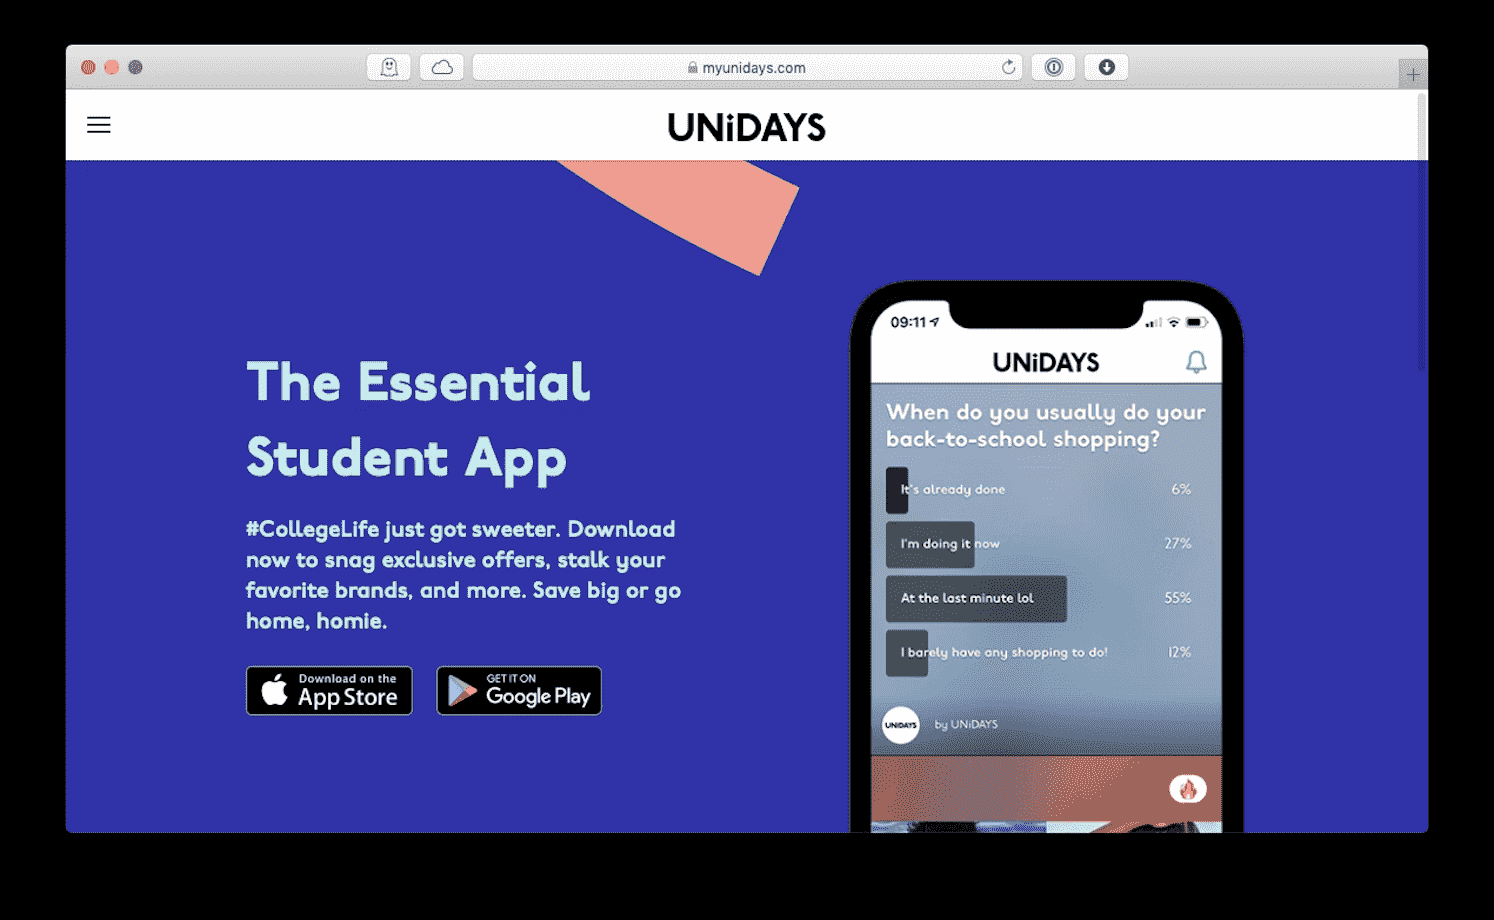
How to get an Apple student discount? Is there any requirement to get Apple Music student discount? Of course, Apple would know if you are trying to fake your identity. So if you want to get Apple Music student discount, you need to sign up for a UNiDAYS account.
UNIDAYS is a platform for university students to get discounts on various merchandise. This includes digital music subscription packages. The requirement of Apple Music is that you should be a University or College student pursuing a bachelor’s degree. You will need to use your university or college email address to prove your eligibility.
You can subscribe to Apple Music's student plan directly through Apple. The process of setting up an Apple Music student plan is relatively easy. All you'll need is about ten minutes, your school email — it ends in ".edu" — and your student ID. Follow the steps below to get a discount on Apple Music if you are a student.
Claim Your Apple Music Student Discount (New Subscribers)
- Open the Apple Music app on your mobile devices or computer.
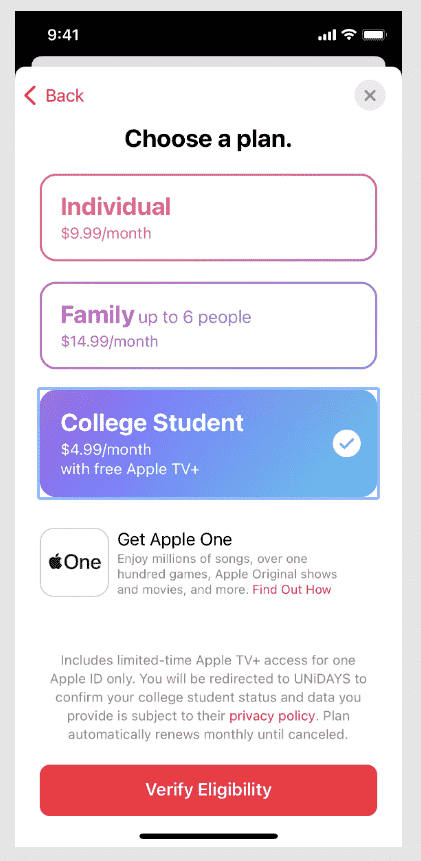
- Click "Listen Now," and select the trial offer – but choose Student.
- Tap click Verify Eligibility.
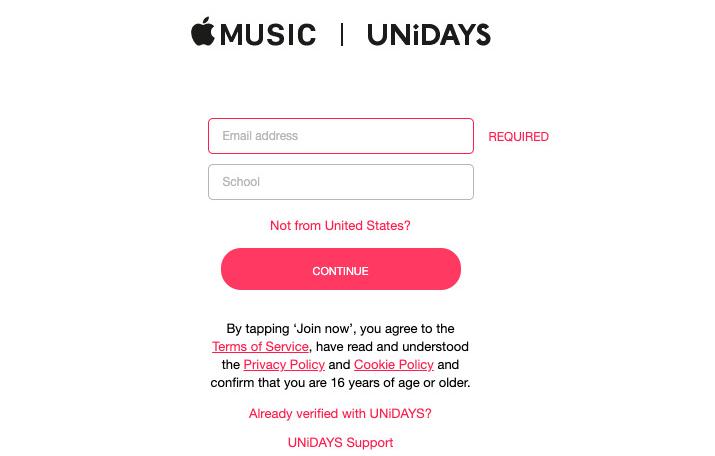
- UK students will be taken to the UNiDAYS website where they need to log on or create an account. US users will verify their student status on Apple’s website. Again, you MUST have a ".edu" email address for this to work. Follow the steps provided by UNiDAYS to verify your account.
- After you are verified you will be directed back to the Music app.
- Sign in to Music app with your Apple ID.
- You’ll need to add your payment information. Click "Join" to finish the process.
How to get an Apple student discount if you're already subscribed to Apple Music but are heading off to college soon? You can switch your account to save a little extra money, you can follow the steps below. Here we'll show you how to change Apple Music membership to student plan on your devices.
Switch to Student Plan on Mobile Device:
- On your mobile device, open the Settings app and tap your name at the top of the page. This will open your Apple ID profile.
- Tap Subscriptions >> Apple Music Membership.
- After that, your current music subscription will show up. This is where you are supposed to switch to the Student plan. To proceed, you will have to provide documents proving that you were still in college. This step will involve UNiDAYS.
- As you open it, fill in your email add and then provide as well the name of your school. After that, instructions will be given and some questions will be shown, which you all have to answer.
- To confirm that you have successfully switched to the Student plan, just navigate again to the Subscriptions section and see your current plan.
Switch to Student Plan on Mac:
- Open the App Store on your Mac. Click your name in the bottom left corner.
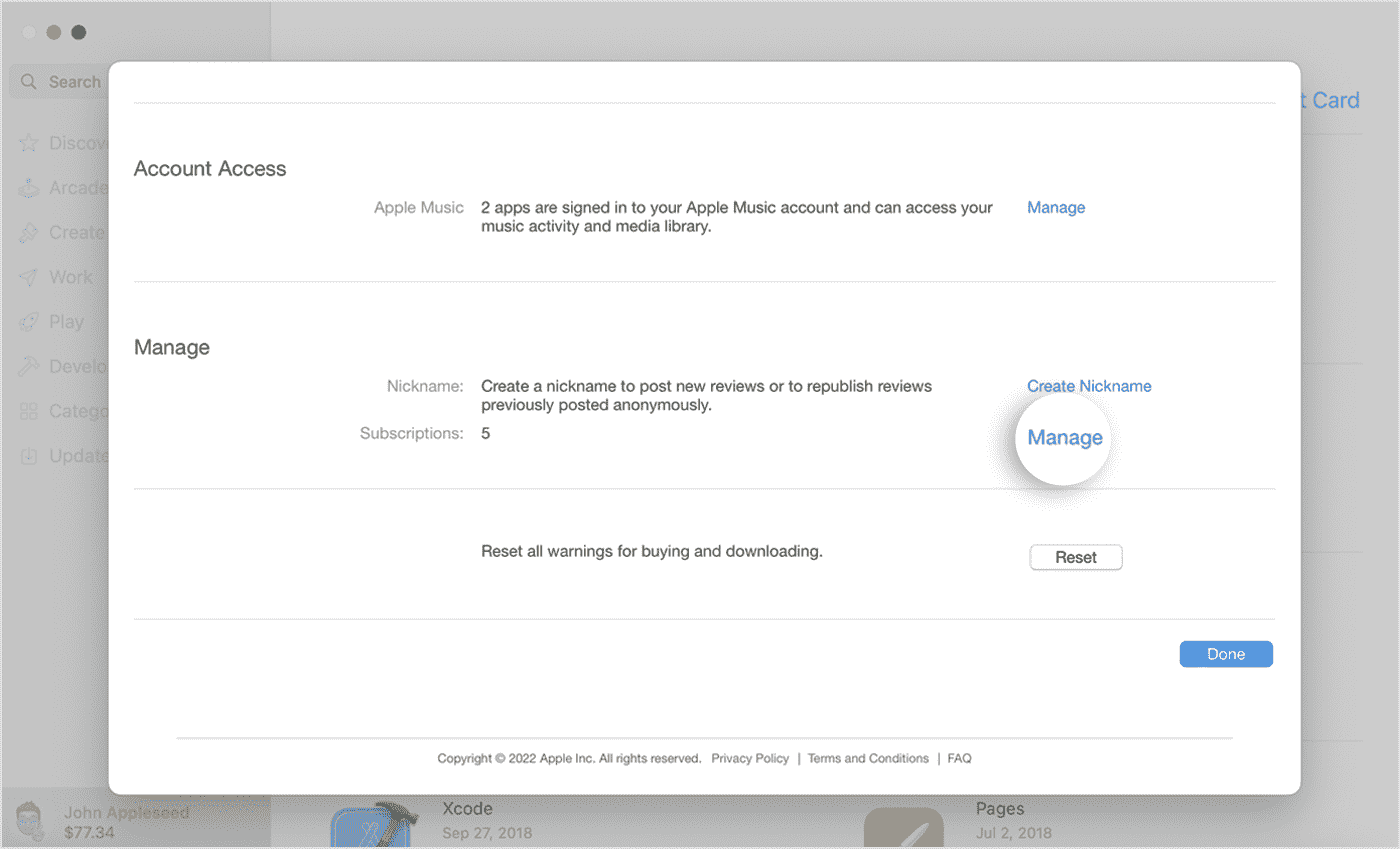
- Click View Information in the top right corner. Scroll to Subscriptions and click Manage.
- Click Apple Music Subscription. Click Student (1 Month).
For Windows user, how to switch to Student Plan? Just open iTunes app on PC, from the menu bar at the top of the iTunes window, choose Account, then choose View My Account. Scroll to the Settings section. Next to Subscriptions, click Manage. Then click Edit next to the subscription that you want to change. Choose Student subscription option.
Now you have learned the way how to get an Apple student discount, so you can also enjoy the advantage of the extra benefit such as Apple TV Plus. With Apple Music student subscriptions for a limited time, just sign into Apple TV Plus using the same Apple ID you use for Apple Music and get started watching. Keep in mind, your free access can't be shared via Family Sharing.
Part 3. A Practical Way to Backup and Safeguard Your Songs
Now that you know how to get an Apple student discount, wouldn’t it be nice to be able to safely backup your Apple Music songs for safekeeping? You can do this successfully with the TunesFun Apple Music Converter. So what is TunesFun Converter and how does it work?
TunesFun Apple Music Converter is a great tool you can use so you can download your Apple Music songs forever on your device. This converter can help remove the DRM technology from Apple Music that protects all songs downloaded from app. With TunesFun Apple Music Converter, you can also convert your Apple Music songs to any format you want including MP3, AAC, FLAC, and WAV format.
What to do if Apple Music song not available in region? How to fix Apple Music that is not working on your device? With the help of TunesFun Apple Music Converter, you will also be spared from experiencing issues with your Apple Music, plus you can listen to them offline and without the need of paying for your subscriptions.
It’s easier to work with your songs this way. Once finished, you’ll be able to use your songs with any media player. The steps are simple in using this converter. See below:
- Download and install TunesFun Apple Music Converter. PC and Mac versions are available.
- Install the app on your PC, launch it, and start adding the songs to be processed.

- Setup the output format and folder and the other output options that can be modified.

- Tick the “Convert All” button once everything has been set up.

- Once finished, go to the Finished tab to see your conversions.
You’ll now have ultimate flexibility when using your Apple Music songs. Burn them on a CD to play them on your CD player if you like. You can also download them on your cherished MP3 player. The possibilities are endless once you’ve used TunesFun Apple Music Converter.
Part 3. Summary
This article taught you how to get an Apple student discount. Specific steps were laid out using your iTunes or Apple Music app. The Apple Music student subscription plan is very useful especially now that it’s so expensive paying for a student’s tuition fee.
Along with this, a handy Apple Music tool was introduced. This tool is the TunesFun Apple Music Converter. With TunesFun, you can convert Apple Music songs into standard music format. When you use this tool, you’ll be able to enjoy your songs with almost any media player. Additionally, you can safely make backups of your Apple Music songs.
 Home
Home
Leave a comment