Is Equalify on Spotify Free? [2025 update]
If you have been too keen on the audio output that’s being produced while you listen to songs from Spotify, and not satisfied enough for just downloading Spotify songs, you are probably want to know a lot about equalizers. Or perhaps, one of those trying to find information about how to utilize Equalify on Spotify for free.
Spotify does not actually offer any equalizers or EQ though it would make the users’ listening experience much better. With the help of equalizers, the songs can be heard better than you use to listen to. It has the power to isolate frequencies and thus, alters audio signals. Sounds can be further enhanced by getting the treble or bass frequency boosted. In some cases, they are used to get rid of unnecessary sounds that are captured during recordings and the like. One of the most popular EQs that are being used nowadays is “Equalify”. If you also find it good enough, then surely, you are one of the many who’s trying to figure out how to use Equalify on Spotify for free.
It is, though, a shame that Equalify on Spotify for free can no longer be enjoyed at present. However, the “PRO” version is still available for those who would still love to use it. Another thing to take note of is that it’s only available on Windows computers.
Let’s still look into how you can register for the pro version of Equalify for Spotify.
Article Content Part 1: Using Equalify on SpotifyPart 2: Extra Tip: Keeping Spotify Songs Accessible ForeverPart 3: Summary
Part 1: Using Equalify on Spotify
Although we have already highlighted that Equalify on Spotify for free is no longer available, some users would still grab the opportunity to utilize the program during the free trial period that it offers. If you are still interested, and would you would like to know how to register for Equalify, then keep on reading this section.
Here are the steps that you must undergo to finally get Equalify Pro up and running on your Windows PC.
Step #1. Begin by Registering for an Equalify PRO Account
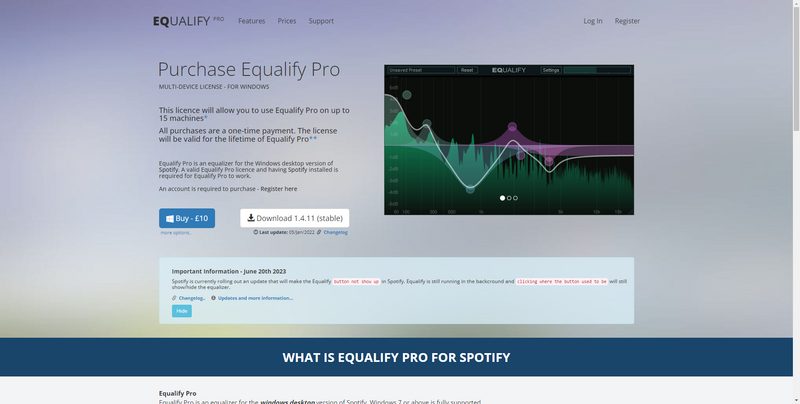
The first process that must be done is account creation through the official website of Equalify. Upon arriving at the site, just simply hit the “Register” button that can easily be seen at the top right corner of the screen. Alternatively, heading to the registration page of Equalify directly can be done.
Make sure that you will be filling out the necessary details required. Upon reading the terms and conditions, the checkboxes at the bottom must also be marked. To finish off, just press the “Register” button.
Step #2. Account Verification and Licensing Plan Selection
Upon completing the registration of an account in the first step, you must then proceed with account activation. An email shall be sent to the email address you provided during registration. This shall be used to get your account verified as well. Just simply click the link to proceed. Afterward, you will be directed to the login page where you would need to input your credentials to sign in.
Now that you have successfully logged into your Equalify account, you will then be asked to choose a certain licensing plan you’d like to avail of. You shall notice that the plans are priced in a different currency – British pounds (ranging from 5 to 15). Of course, each differs from one another in terms of benefits offered. The lowest plan will allow you to use one device whereas the middle one allows 15 and the highest can cater to up to 200 devices. Once the highest-priced plan has been purchased, one will also be entitled to free upgrades in the future and can enjoy priority support.
Upon checking and comparing each plan, you may now tap the “Buy Now” button that corresponds to whichever licensing plan you would like to purchase. Once this has been tapped, you will be brought to PayPal wherein you can pay the fee required. If you are residing in a different country, the conversion shall take place automatically.
Again, you may still enjoy Equalify on Spotify for free if you are to take advantage of the free trial offer.
Step #3. Downloading and Installing Equalify Pro
Once you have completed the purchase and payment has finally been settled, you should see a notification displaying that the payment made has been verified. From there, a “Download” button or Equalify Pro shall be seen. Just proceed to download it. Once done and has been made available, click it to open the installer. It should come up right away. You have to keep in mind that the most important thing during the installation of Equalify Pro is to ensure that it will be installed in the correct folder.
When choosing the installation path, the folder must match this – x:\Users\YOUR_USER\AppData\Roaming\Spotify. Once checked, tap the “Next” button and then the “Install” option on the next page to complete the process. The installation time shall only last for a few minutes.
Step #4. Enjoy Using Equalify Pro!
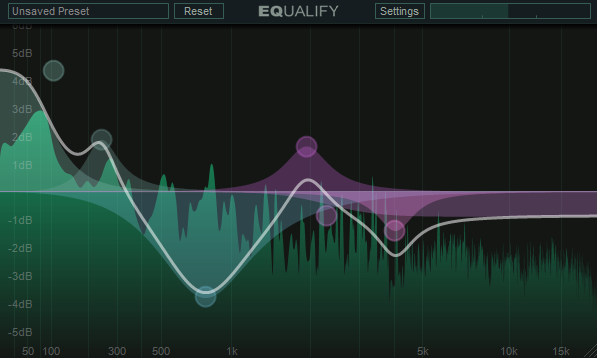
Now, what is left for you is just to enjoy using Equalify Pro. If your Spotify account is open, you must close this first and then re-open it for Equalify Pro to show up automatically. Take note that once you open Spotify or play a track for the first time again, you might see a notification asking you to input your Equalify account credentials. Just do so as needed. Once this is done, while listening to a Spotify track, you should be seeing an equalizer icon that’s next to the Spotify icon. You can just click it to launch Equalify Pro. Setting a new preset as per your liking can definitely be done!
Even though it is quite saddening to know that the Equalify on Spotify for free is no longer available, it is still a relief that there is a free trial that’s being offered and the Equalify Pro has various licensing plans offered.
It is indeed good if Equalify on Spotify for free can still be used but we have no choice but to adapt! It is still a good thing that once you got a plan on Equalify Pro, you can surely get your Spotify streaming experience moved up to a whole new level.
Part 2: Extra Tip: Keeping Spotify Songs Accessible Forever
Though our goal in this post is to learn how to enjoy Equalify on Spotify for free, it would still be good to share some extra tips. Thus, we have this section of the article created. Here, you will be learning about how you can keep your Spotify favorites accessible on any gadget that you have.
Spotify songs are encrypted with DRM protection. Thus, playing them outside the Spotify app isn’t allowed unless, of course, this protection will be removed. Luckily, when browsing through the web, bunches of tools with this capability can be seen. From the many suggestions, we recommend that you use the TunesFun Spotify Music Converter. Aside from the DRM removal function, it offers several other benefits to its users.
The TunesFun Spotify Music Converter can help with Spotify song conversion and even supports several output formats such as MP3, FLAC, AAC, and WAV. It works fast and has the ability to keep the original quality of the songs and their ID tags. With the conversion speed of this professional software app, you can be assured that the procedure shall be completed in a snap! Plus, the app is being updated consistently so you’ll surely get the best experience possible!
Take a look at how easy the TunesFun Spotify Music Converter can be used when transforming and downloading Spotify songs.
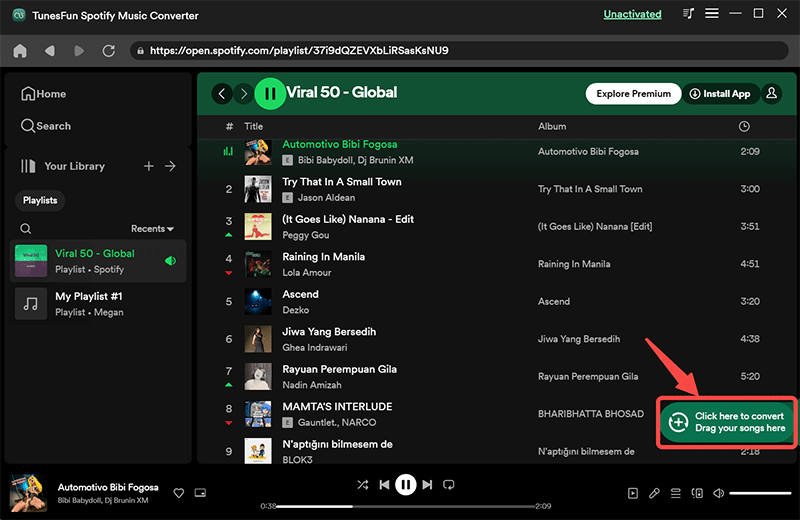
Step #1. Upon completing the installation of the TunesFun Spotify Music Converter on your PC, launch the app and begin adding the Spotify songs.
Step #2. Choose a preferred output format of yours and then set up the output folder location you like.
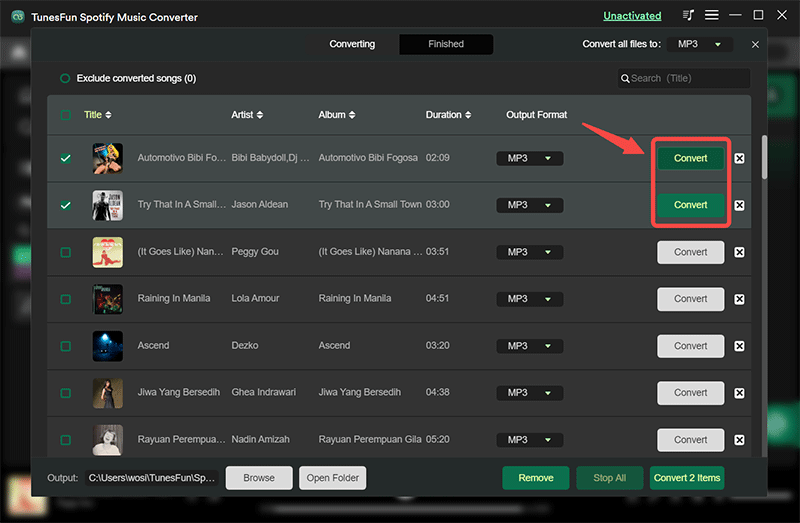
Step #3. Hit the “Convert” button once you’re ready. The transformation of the uploaded Spotify songs shall take place right away.
Within a few minutes, you should be getting the DRM-free and converted Spotify songs saved on your PC! Playing them on any device that you have shall now be possible!
Part 3: Summary
Though it is quite disappointing to find out that Equalify on Spotify for free is no longer being offered. We were still given the chance to use it for free through the free trial version. If you are really into this program, you can always use the Pro version. Additionally, if you wish your Spotify favorites to be accessible forever even without a subscription plan, remember that you can download and keep them using the TunesFun Spotify Music Converter.
 Home
Home
Leave a comment